
Hello and Welcome Back!
Hello and welcome back to Architecting Zero Downtime Infrastructure! I’m so glad you could join me today. We’re diving into a topic that, in my book, is simply non-negotiable for any modern enterprise: ZFS native encryption. We’re talking about protecting your data at rest, and doing it the right way.
Now, we all know the stakes. Regulatory frameworks like GDPR and HIPAA aren’t polite suggestions; they are hard, legally-binding requirements. But even beyond the compliance checklists, there’s a simple, physical reality we all live with. Hard drives get decommissioned. They fail. And sometimes, they get stolen or misplaced. The moment a piece of hardware leaves your physical control, you have to be 100% certain that the data on it is nothing more than unintelligible, useless noise to anyone else.
What I see far too often are these complex, brittle, layered solutions built to solve this problem. It feels like adding more and more locks to a door that wasn’t very strong to begin with. But what if your filesystem itself—the very foundation of your data—could handle high-performance, military-grade encryption, natively, without the headache of third-party tools? That’s exactly the conversation we’re having today. Let’s get into it.
What Makes ZFS Encryption Different?
The first thing you need to understand is that ZFS native encryption isn’t an afterthought. It’s not some feature that was bolted on late in the game. It’s woven directly into the DNA of the filesystem.
Many of you are probably familiar with systems like LUKS on Linux or BitLocker on Windows. These are fantastic tools, but they operate at the block level. Think of it like putting your entire house inside a giant, opaque shipping container. The container is locked, but inside, everything is just one big, undifferentiated space. Block-level encryption encrypts an entire disk or partition, sitting underneath the filesystem, completely unaware of the data structures above it.
ZFS takes a fundamentally different and, in my opinion, strategically superior approach. It operates at the dataset level. This is where things get really powerful. It’s less like a giant shipping container and more like a high-security hotel where every single room has its own unique, impenetrable vault. You can have a single ZFS pool where one dataset holding sensitive customer records is encrypted, while another dataset with temporary scratch data is left unencrypted for convenience. You can even use different encryption keys for different projects, all living happily on the same set of disks.
This granular control is what I find works best in the real world, because it allows you to map your security policies directly to your business needs, rather than making monolithic choices based on your hardware.
The ‘Big Three’ Advantages: Why I Swear By It
So, why choose this integrated approach over a more traditional one? For me, it always comes down to three critical advantages.
- Performance, Performance, Performance: This is the first question everyone asks, and for good reason! The fear is that encryption will bring your high-speed storage to a grinding halt. With ZFS, this is largely a solved problem. It brilliantly leverages the AES-NI instruction set that’s built right into virtually all modern CPUs. This means the encryption work is done in hardware, at silicon speed. In nearly every deployment I’ve ever built or consulted on, the performance impact is so small, it’s negligible. Your bottleneck will almost certainly be your storage media or your network, not the encryption.
- Operational Simplicity: This is where the elegance of the design really shines. Creating a new encrypted dataset is a single command-line flag. It’s clean, it’s simple, and it’s repeatable. There’s no complex setup ritual, no kernel modules to configure, no third-party daemons to manage. This lack of complexity means it’s incredibly easy to adopt and, more importantly, enforce as a standard practice for all new data.
- Deep, Seamless Integration: This, for me, is the true power. Because encryption is a native citizen of the filesystem, it works seamlessly with all of ZFS’s other powerhouse features. Snapshots? They just work, and they remain encrypted. Clones? Same deal. Replication? You guessed it—it works transparently. An external encryption tool is blind to all of this; it can’t distinguish a snapshot from regular data. This isn’t just a minor convenience; it’s a fundamental architectural benefit that you will appreciate every single day you manage your system.
Under the Hood: The Genius of the Key Hierarchy
To really appreciate the design, we have to peek under the hood at how ZFS manages keys. It’s a beautifully practical three-level system. Let me break it down with an analogy.
Imagine a secure facility. At the very top, ZFS internally manages a Master Key for the entire pool. This is like the blueprint to the facility’s entire locking system—it’s kept deep inside and you never touch it.
Next, you have what’s called a Wrapping Key. This is the one you directly control, usually with a passphrase you type in. Think of this as the master keycard that the security chief holds. It doesn’t open individual doors directly, but it grants access to the local key lockboxes.
Finally, each encrypted dataset has its own specific Data Encryption Key (DEK). This is the key that does the actual heavy lifting of encrypting and decrypting your data blocks. These are the individual keys to each secure room.
When you mount a dataset, your passphrase unlocks the Wrapping Key (the keycard), which in turn decrypts the specific DEK (the room key) for the data you need to access. Here’s the operational masterstroke: if you need to change your passphrase, you aren’t re-encrypting terabytes of data. You are only re-encrypting that tiny little Wrapping Key. This turns key rotation from a terrifying, weekend-long data migration project into a trivial, seconds-long task. It’s brilliant.
Putting It Into Practice: Your First Encrypted Dataset
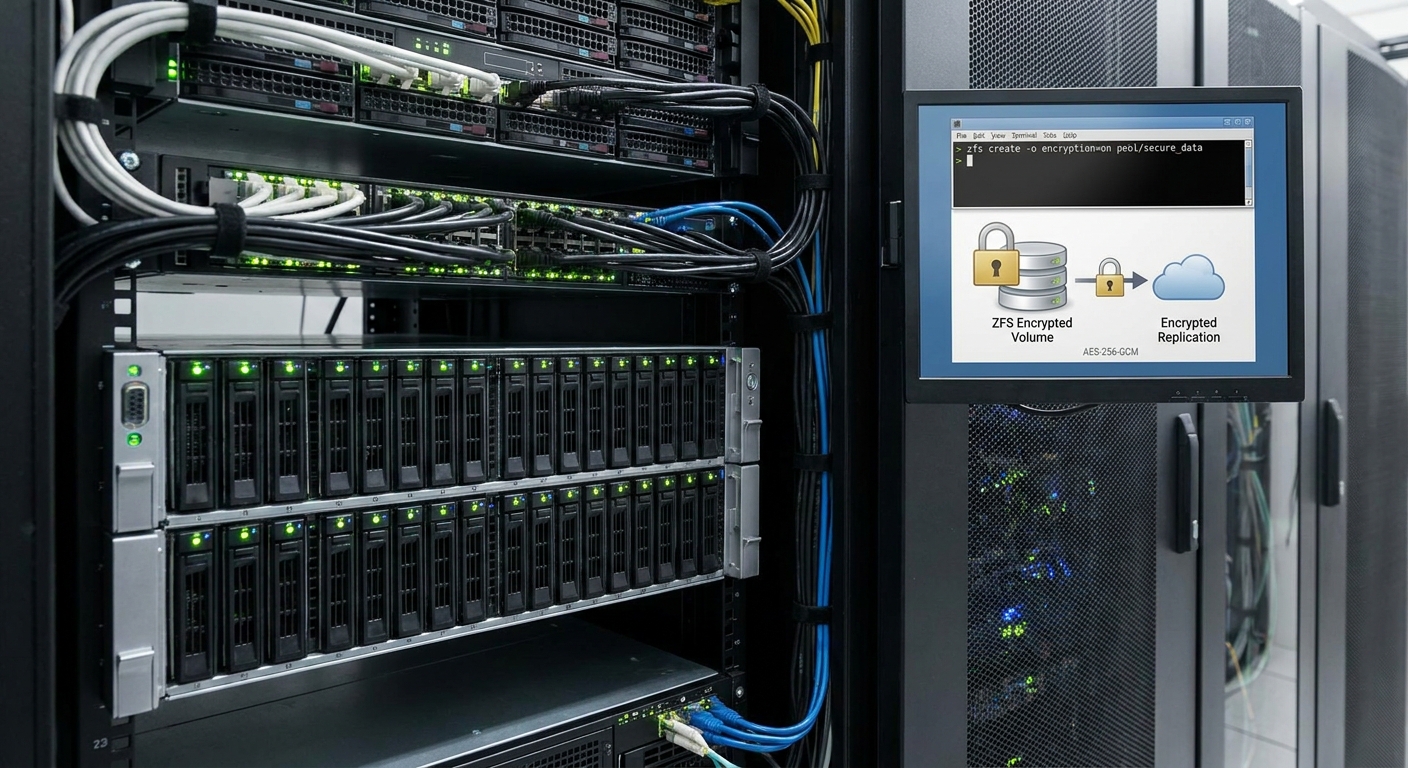
So, what does this look like in the real world? The command itself is deceptively simple. To create a new, encrypted filesystem, you’d run something like this:
Bash
zfs create -o encryption=on -o keyformat=passphrase poolname/my_secure_data
ZFS will then prompt you for a passphrase, and you’re done. It’s that easy. Now, there are a few key properties you’ll want to know:
- encryption: You can set this to on or a specific algorithm. My personal rule of thumb is to stick with the default, aes-256-gcm. It’s the modern standard, offering an excellent balance of world-class security and incredible speed.
- keyformat: This is usually passphrase, but it can also be a raw key file.
- keylocation: This tells ZFS where to find the key. You can set it to prompt (so you’re asked for it every time) or point to a file path, like file:///path/to/my.key.
But here’s where the operational efficiency really kicks in: inheritance. Once you encrypt a parent dataset, any new filesystem you create underneath it automatically inherits that encryption policy. Imagine creating a single encrypted dataset for user homes (zfs create -o encryption=on poolname/homes). From that point on, every new user account you provision (zfs create poolname/homes/newuser) is automatically and transparently protected. This is how you make security the default, not the exception.
Key Management: The Heart of Your Security
Let’s be frank: your encryption is only as strong as your key management. The keylocation property presents a classic security-versus-convenience tradeoff.
- Using prompt is the most secure method for an interactive system. It requires a human to physically type in the passphrase at boot or mount time. The key is never stored on disk. The downside? It’s a deal-breaker for unattended servers in a remote data center.
- Using a key file is far more convenient for automated reboots. However, it shifts the entire security burden onto protecting that one file. If an attacker gets your data disks and that key file, your encryption is worthless. My unbreakable rule here is: if you use a key file, store it on a separate physical device. A common practice is to use a small, removable USB drive that is only plugged in during a reboot and is otherwise stored in a physical safe.
For larger, multi-tenant environments, ZFS also offers a powerful feature called delegation. Using zfs allow, you can grant specific, non-root users the permissions to load keys, create snapshots, and manage their own encrypted datasets, without giving them the keys to the entire kingdom. This is how you scale security responsibly.
The Game-Changer: Encrypted Replication
Now I want to talk about a feature that, in my experience, is criminally overlooked, yet it’s one of the most powerful capabilities in the entire system: raw encrypted replication.
Normally, when you use zfs send to replicate a dataset to another machine for backups, ZFS will decrypt the data on the source, send the plaintext data across the wire (hopefully over a secure channel like SSH), and the destination will then re-encrypt it. This works, but it means your backup target must have access to your encryption keys.
There is a much, much better way. By adding a single flag, -w, you create a ‘raw’ send.
Bash
zfs send -w poolname/my_secure_data@snapshot | ssh backup-server zfs receive anotherpool/backup
When you do this, something strategically magical happens. ZFS sends the data blocks in their already-encrypted form. It transmits the ciphertext exactly as it exists on disk. This is a complete game-changer for backing up to a location you don’t fully control, like a third-party cloud provider or a secondary data center. The remote system stores your data, but it holds nothing more than an opaque, encrypted blob. It never sees the keys; it has absolutely no ability to decrypt the data. This is robust, zero-trust security built right into your backup workflow.
A Final Word on Performance and Pitfalls
I want to circle back to performance one last time, because it’s such a common concern. On any reasonably modern server hardware with AES-NI support (which is basically anything from the last decade), you should think of ZFS encryption as being effectively ‘free’. For your databases, virtual machines, and file shares, the impact is so low you’ll likely never be able to measure it outside of a synthetic benchmark. Don’t let performance anxiety stop you from implementing this critical security layer.
Finally, a couple of quick operational pro tips to keep in mind:
- You can’t encrypt an existing dataset in place. My process is to create a new encrypted dataset and then use zfs send | zfs receive to migrate the data locally from the old one to the new one. You just need to plan for it.
- Practice good key hygiene. If you have a sensitive dataset that you don’t need mounted all the time, get into the habit of running zfs unload-key poolname/my_secure_data. This immediately locks the dataset and flushes the key from memory, ensuring it’s secure until you explicitly mount it again.
Wrapping Up
So there you have it. ZFS native encryption is a fast, flexible, and deeply integrated solution for protecting your data at rest. It provides the granular, dataset-level control that modern applications demand, with almost no performance penalty. When you combine that with killer features like raw encrypted replication, you have a truly comprehensive and elegant system.
It’s security built in, not bolted on. And that makes all the difference.
Thank you for tuning in today! I hope you’ll join me next time as we put all this theory into practice. In Episode 23, we’ll dive into a full case study: ‘Implementing a ZFS-based SAN for a Video Production House.’ We’ll see how these powerful features come together to solve real-world challenges where performance and data integrity are absolutely paramount.
I look forward to seeing you then. As always, feel free to leave your questions and comments below!
Leave a Reply